My main fabrics for the gold handmaiden are still underway, but I've started on the sash around the waist. I started with the last piece of the silk charmeuse for my sister's wedding gown. It was around 1,5 meters and weighing 200 grams. Now it was time to really take the bull by its horn and start with the dye. I felt that this was a good start though, if I failed with the dye I wouldn't have ruined a large amount of fabric. The dye that I wanted to try this time was Jaquard iDye for natural fibres in Gold Ochre. I would probably not have dared if it hadn't been for this
tutorial from The Dreamstress, she had also used Gold Ochre and so in that way I had seen the colour that her fabric got from the dye. I also asked the HSF FB group for any advice when it came to what kind of pots and the like to use.
According to the instructions that came with the paint you should either use a toploading washing machine, or have a metal pot that you could keep on the stove. I didn't have any of those, instead I decided to use the largest plastic storage box I could find up on my attic. Then I started to boil a lot of water. I used my kettle and three pots. The kettle was the fastest, but the biggest impact when it came to the temperature were my two large 10 litre pots. I filled the plastic bin about half full with my second to last large pot, added the dye, fabric and vinegar, and then I raised the temperature again with the last 10 l of water. I had also presoaked the fabric in hot water, so that the fabric itself wouldn't lower the temperature. The temperature of the dye bath came to around 80 degrees C.

I used a big stick, actually a broom stick, to stir the fabric. I kept stirring in the pot, so that the fabric was never still for 25 minutes. Then I lifted up the fabric into my bathroom zink and washed it with a small amount of washing powder. I rinsed it until I couldn't see any colour of the water.
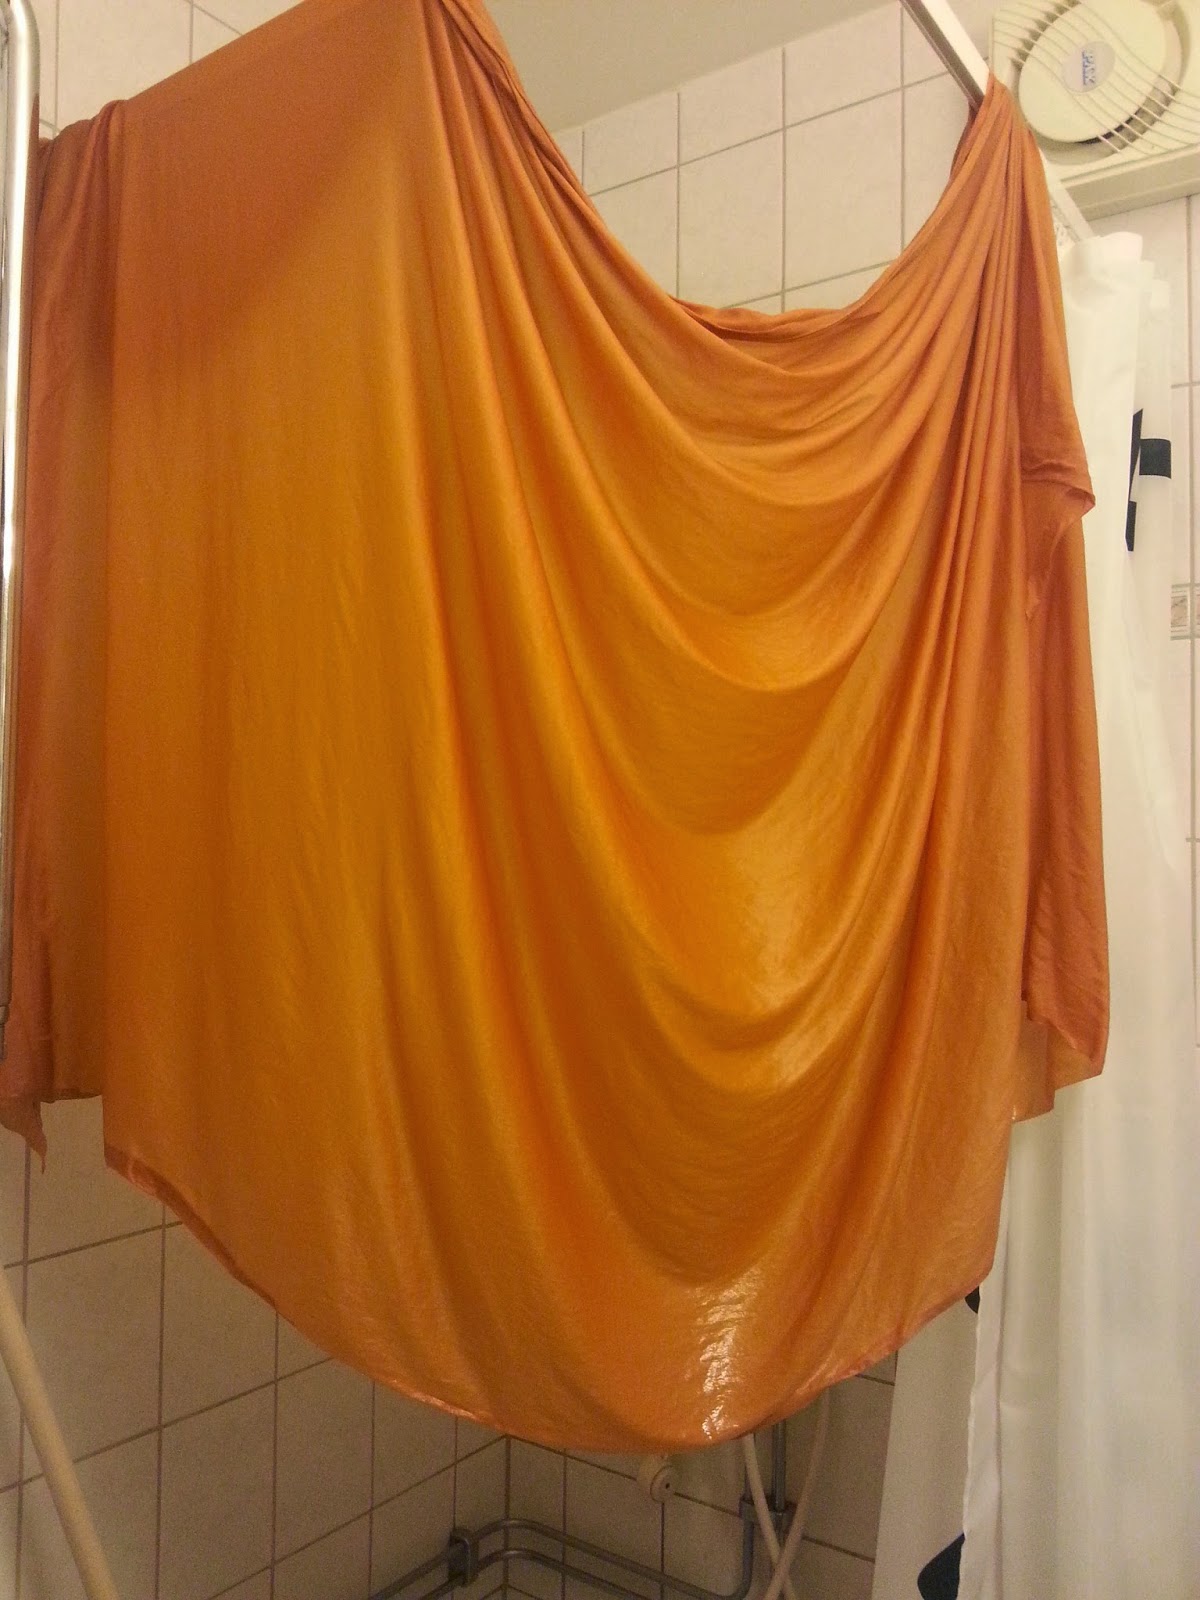
When I hung it up to dry I was worried that the colour was too dark. I had noticed it already in the dye bath, so that was why I took it up after 25 minutes instead of the recommended 30 minutes. I hoped that it would lighten up when it dried though.
And it did! This is my fabric all dry. I'm so happy with the colour and this photo does not give the fabric justice, it's so rich and shimmering.
With that I'm really happy that I have found a dye that works, and I've managed to do a proper dye. Now there are still some issues that I need to solve before dyeing the main fabrics. That's going to be a lot larger amount of fabric, and it will not fit in that same plastic container. I will probably have to cut the fabrics into smaller pieces and do several dye baths, but I would like to reuse the water, but then I need to be able to come up with a solution on how to reheat the dye bath. I don't want to put y plastic bin on the stove. So still some technical issues, but at least the dye works.


This comment has been removed by a blog administrator.
ReplyDelete